redmine のインストール・設定・利用
プロジェクト管理ツールの redmine のインストール・設定・利用について記す. redmine の概要はファーエンドテクノロジー株式会社 (松江) の前田さんの書かれた はじめる! redmine を見ると良い.
以下では Debian Wiki の redmine の項目 を参考に設定を行う.
redmine の Debian パッケージのインストール
redmine のインストールを行う.
vm$ sudo -s

vm# apt-get install mysql-server mysql-client apache2

vm# apt-get install libapache2-mod-passenger redmine-mysql redmine
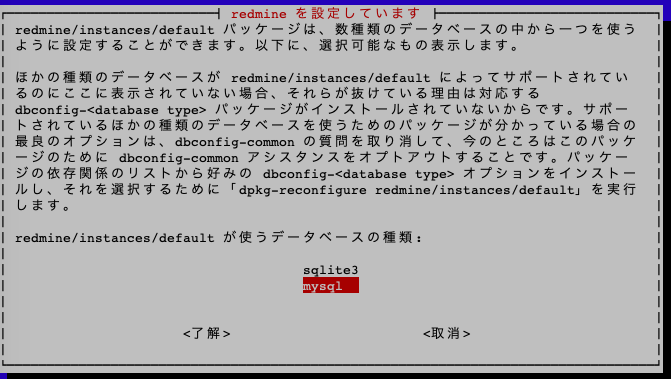
redmine のパッケージをインストールすると, 以下のようにウィンドウが開いてデータベースの設定が始まる.
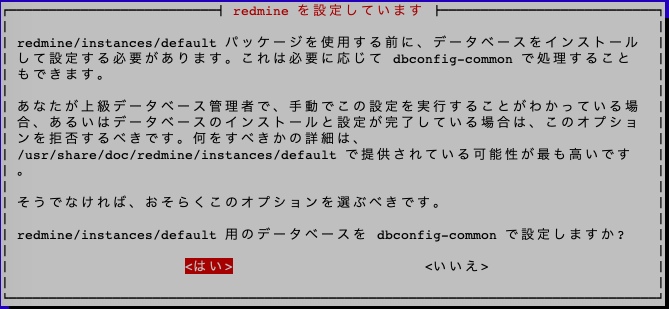
データベースは MySQL を選ぶ. さらにパスワードを設定するよう言われるので, 適宜入力する.

Apache2 の設定変更
設定ファイルの雛形をコピーする.
vm# cp /usr/share/doc/redmine/examples/apache2-passenger-alias.conf /etc/apache2/sites-available/redmine.conf
モジュールや redmine.conf ファイルを有効にする.
vm# a2enmod passenger

vm# a2ensite redmine.conf
デフォルトの設定ファイルは無効にしておく. これをしないと redmine にアクセスできない.
vm# a2dissite 000-default
Apache2 を再起動する.
vm# /etc/init.d/apache2 restart

  [ ok ] Restarting apache2 (via systemctl): apache2.service.
redmine の設定
メール関連の設定
vm# cp /usr/share/redmine/config/configuration.yml.example  /etc/redmine/default/configuration.yml

vm# vi /etc/redmine/default/configuration.yml

  default:
    # Outgoing emails configuration
    # See the examples below and the Rails guide for more configuration options:
    # http://guides.rubyonrails.org/action_mailer_basics.html#action-mailer-configuration
    # email_delivery:     (ここをコメントアウト)

    ...(略)...

    # ==== Sendmail command
    #
    email_delivery:                 (コメントアウトを外す, 先頭を # の位置に合わせる)
      delivery_method: :sendmail    (コメントアウトを外す, 先頭を # の位置に合わせる)
Apache2 を再起動する.
vm# /etc/init.d/apache2 restart

  [ ok ] Restarting apache2 (via systemctl): apache2.service.
redmined の設定 (Web ブラウザ経由)
Windows でブラウザを立ち上げ, 自分の仮想マシンにアクセスする. 教員の仮想マシン上で動いている redmine は <URL:http://10.176.0.151/redmine> でアクセスできる. 自分の IP に適宜読み換えること.
初期ユーザ/パスワードは, admin/admin である.
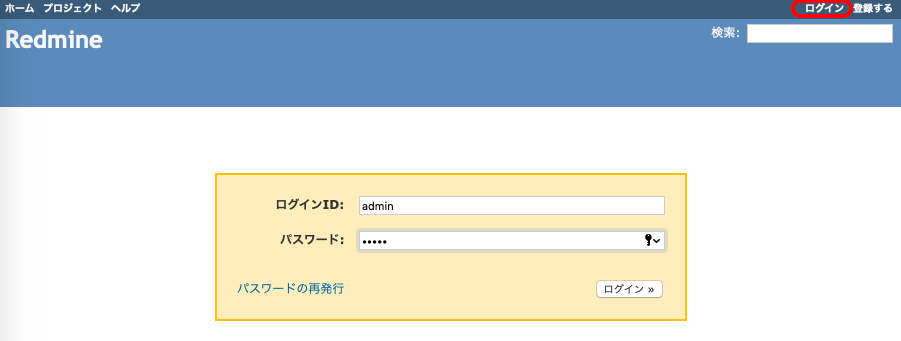
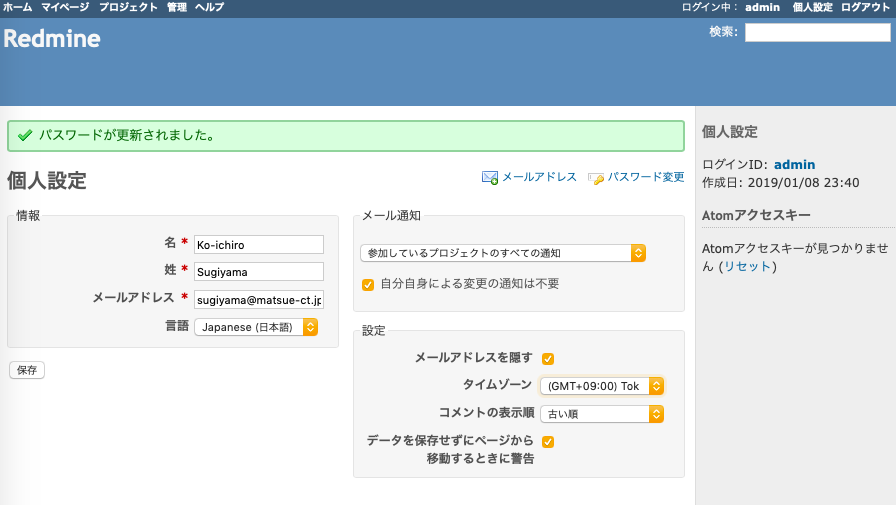
最初にログインすると, すぐにパスワードを変えるように要求される.

ユーザ情報を更新する.
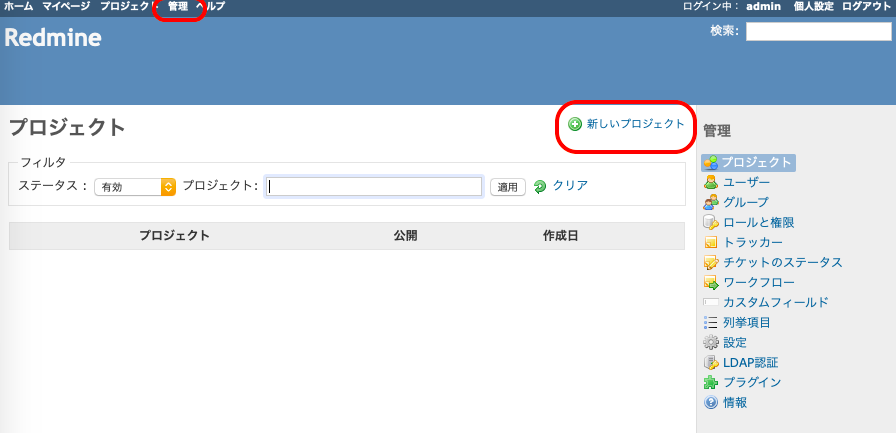
redmine の利用
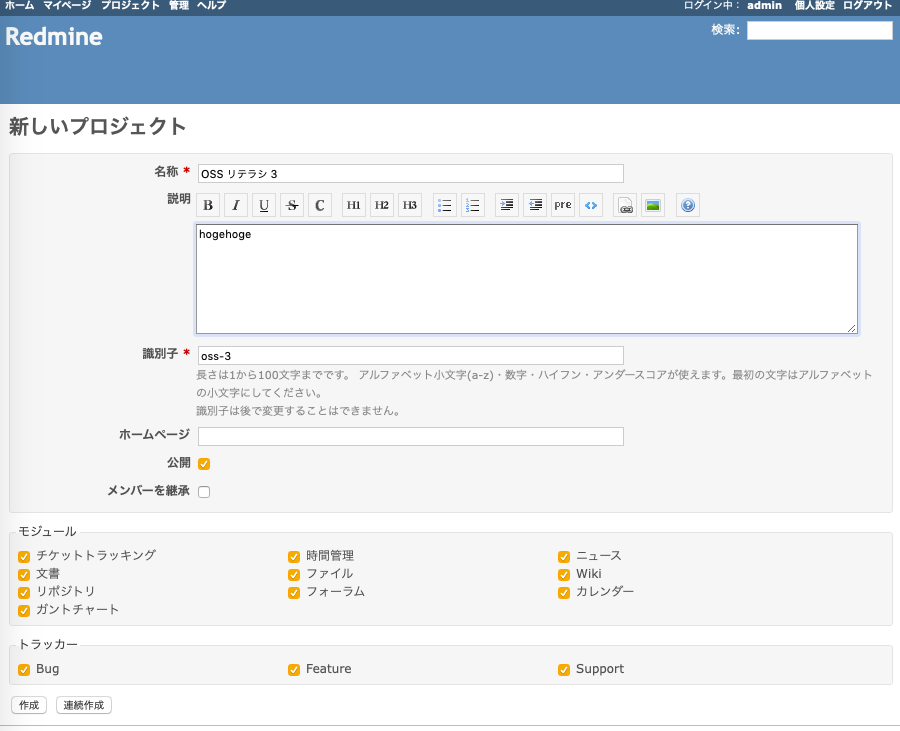
プロジェクトやユーザを作るのが第一歩である. 試しにプロジェクトやユーザを作成してみよ.
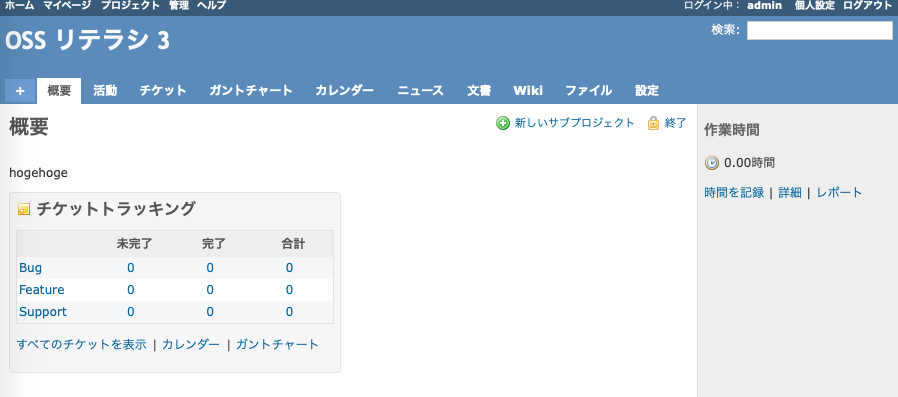
作成したプロジェクトを選択すると以下のような画面が現れる. 課題やタスクは「チケット」で管理する. 試しにチケットを作成して何度も更新してみよ.
詳しい使い方については, 例えばファーエンドテクノロジー株式会社 (松江) の前田さんの書かれた はじめる! redmine を見ると良い.