MicroPython + Thonny 環境のセットアップ
Thonny のインストール
MicroPython の開発環境として Thonny をインストールする.
$ sudo apt update
$ sudo apt install thonny
esp32 マイコンを使うためのツールをインストールする
$ sudo pip install esptool
Thonny の micropython 対応
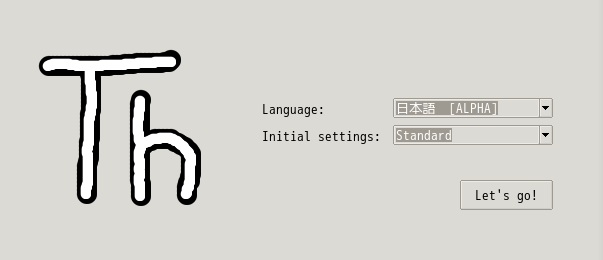
「アプリケーション」=> 「開発」=> 「Thonny」から, Thonny を起動する.
- 言語などの設定
- Langugate : 日本語
- Initial settings : standard
動作確認
MicroPython のファームウェアの書き込み
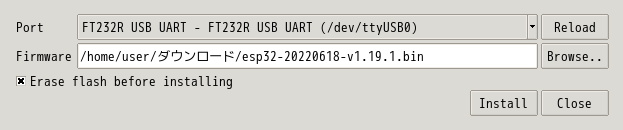
<URL:https://micropython.org> の「Download」より, MicroPython のファームウェアをダウンロードし, それを ESP32 内蔵のフラッシュメモリに書き込む必要がある. 今回は ESP32 用の esp32-20220618-v1.19.1.bin を取得した.
Thonny の「ツール」メニューから、「Options」を選択して、「インタプリタ」タブを選択する。 まずは以下の設定を行う。
- インタプリタ: MicroPython (ESP32)
- Port : <Try to detect port automatically>
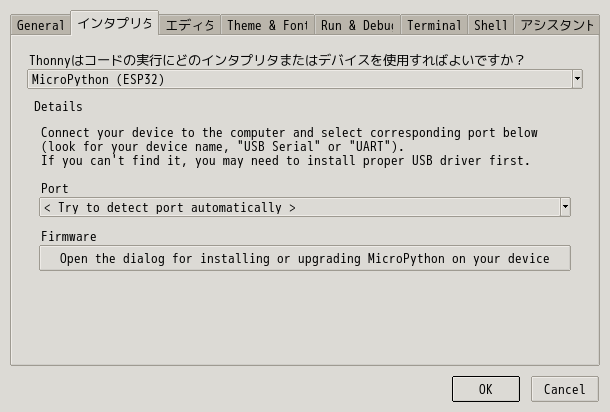
次に、「Firmware」のすぐ下のボタンを押して、マイコンにファームウェアを書き込む
Thonny で L チカ
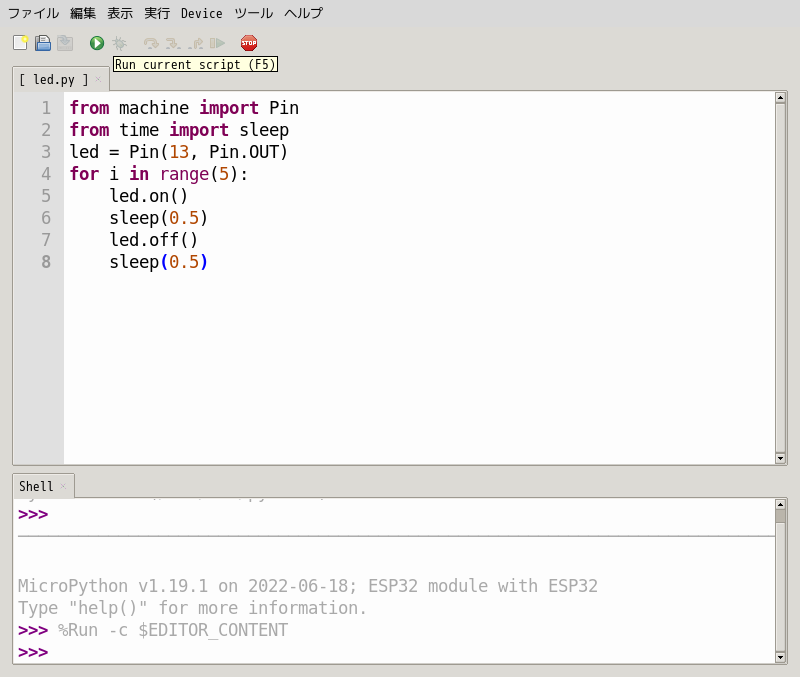
L チカをする. LED の 1 番目は GPIO 13 なので, それを 5 回点灯させる. 以下のコードを書き込む
from machine import Pin
from time import sleep
led = Pin(13, Pin.OUT)
for i in range(5):
    led.on()
    sleep(0.5)
    led.off()
    sleep(0.5)
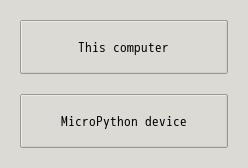
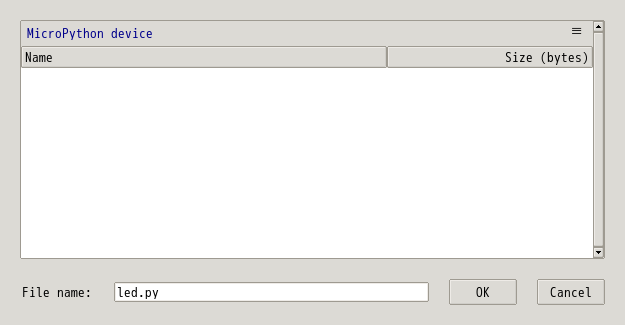
次に、「再生ボタン (Run current script (F5))」をクリックする。 ウィンドウ(Where to save to?) が開くので, 「Micropython device」を選択する。 保存するファイル名は適当で良い。